
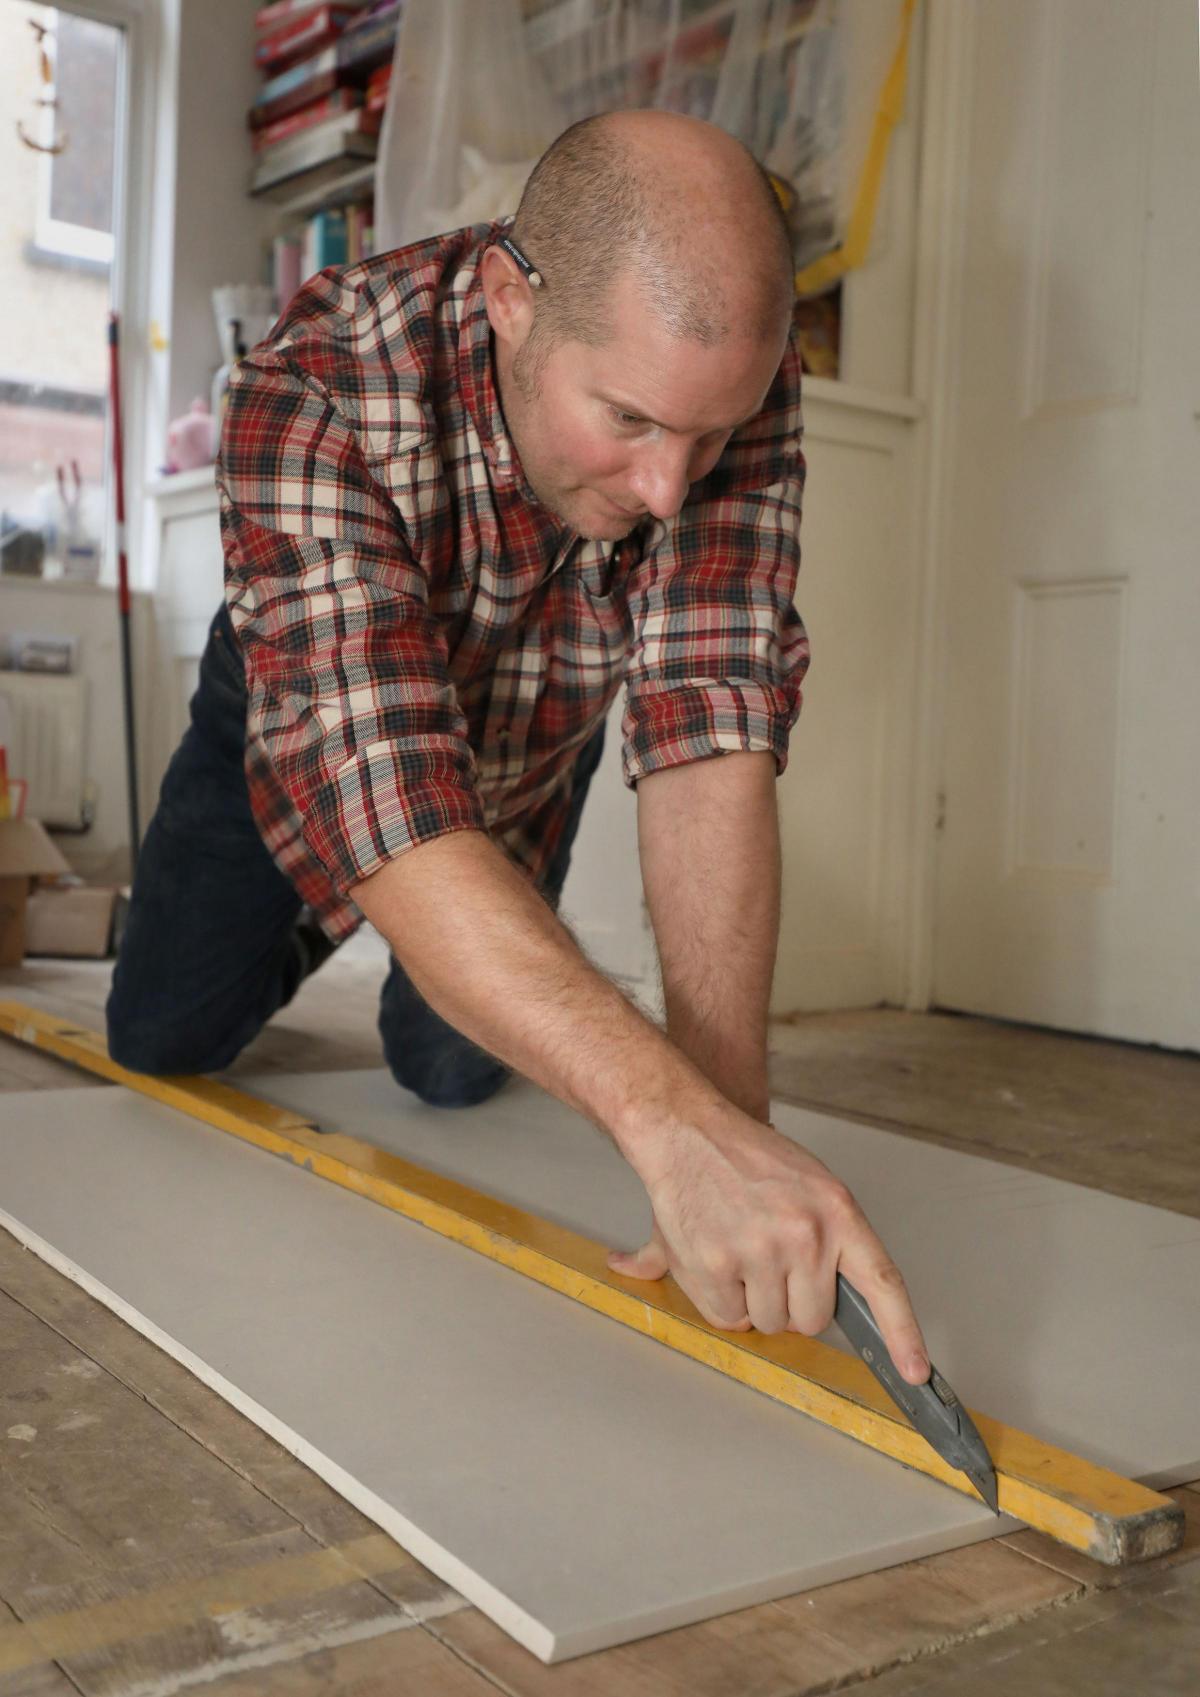

BUILDER Richard Burr, of North London, who was also a finalist on 2014's Great British Bake Off, reveals how to repair your walls and be a DIY plasterer.
HOUSES get damaged - it's a fact of life - but damage to walls always seems to stump people.
You can get holes in plasterwork for many reasons: maybe the plaster is old and wearing out, maybe some drywall (plasterboard) has been bashed, or even - and this is more common than you'd think - someone's put their foot through the ceiling while trampling around in the loft.
Here are my top tips for patching unsightly holes.
There are 14 things you'll need for plastering:
1. A pencil
2. A spirit level
3. A stud detector (if repairing a stud wall)
4. A drywall saw (or pad saw)
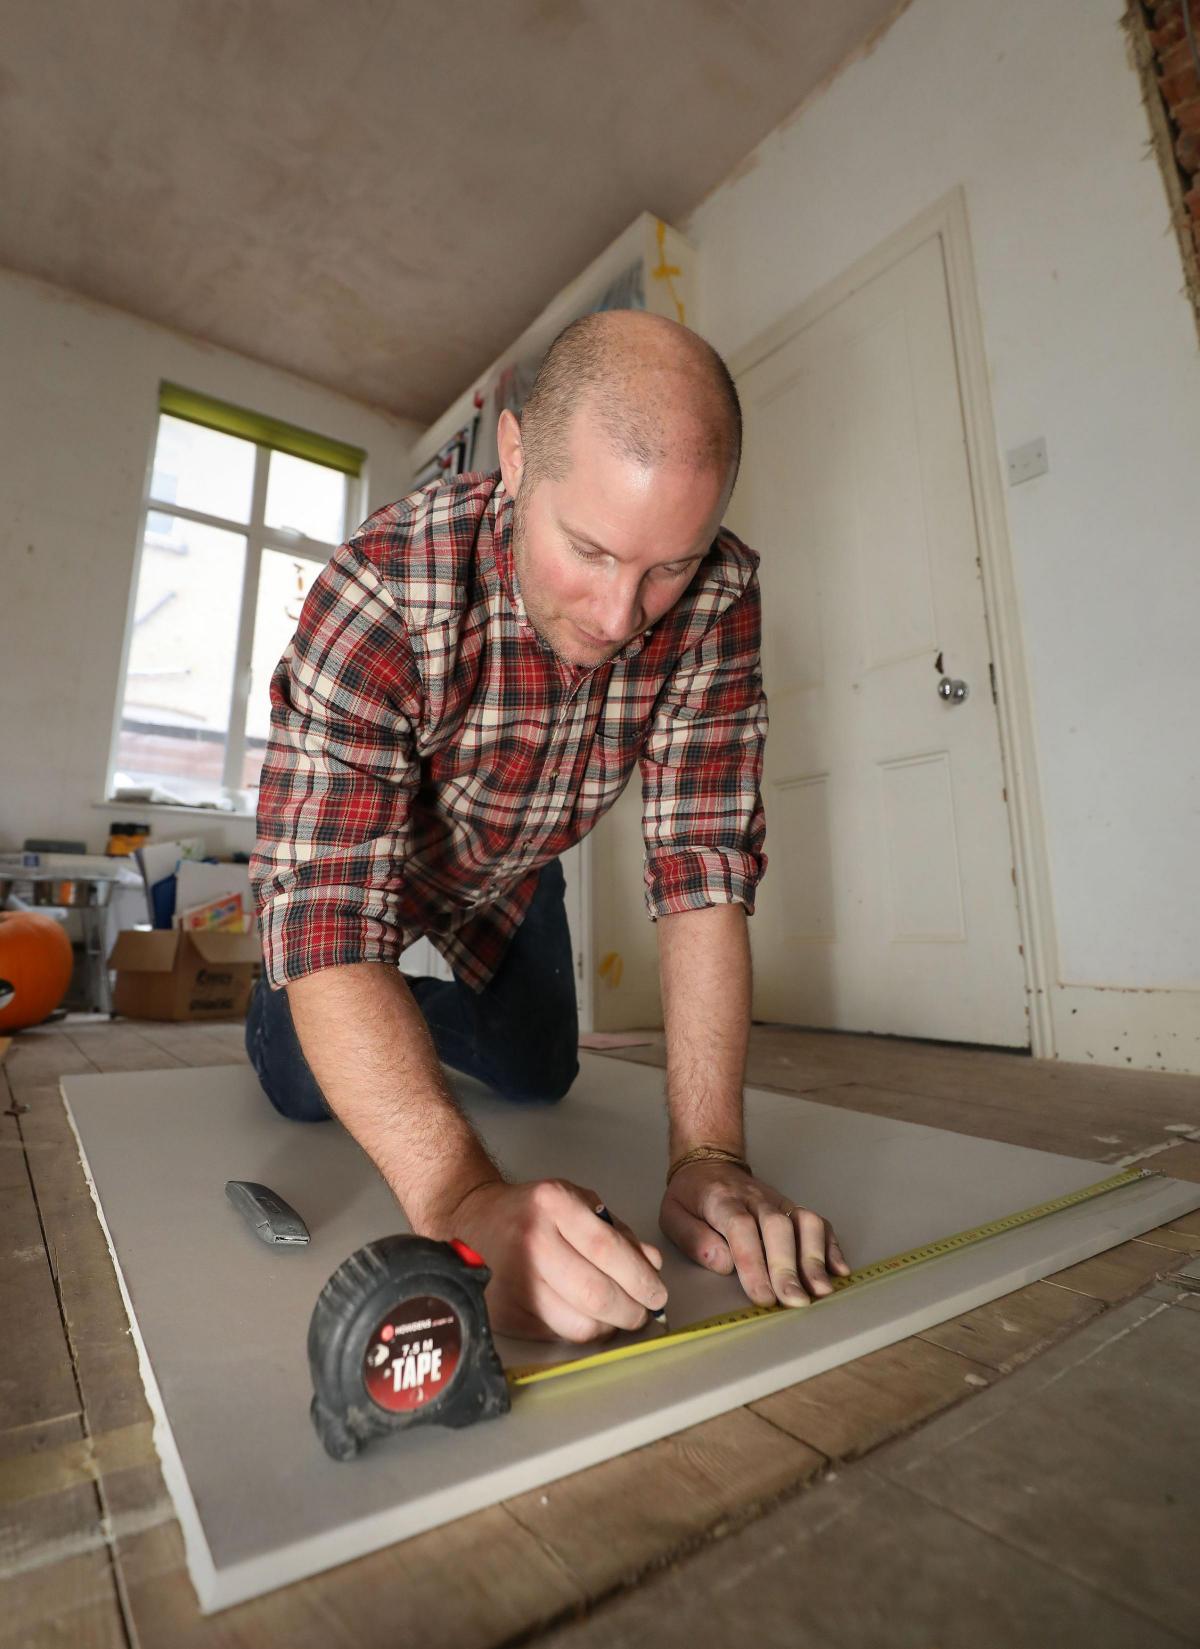
5. A tape measure
6. A stiff brush
7. A soft brush - anything bigger than a 2" brush is fine
8. 25x50mm wood - enough to frame your hole if you're repairing drywall
9. 40mm drywall screws
10. A roll of scrim (coarse fabric, for repairing a solid wall)
11. Primer, or PVA
12. A plasterer's trowel
13. Some repair plaster
14. A few sheets of fine sandpaper, 80-100 grit
Firstly, work out which type of wall needs repairing - stud walls or solid walls.
To fix a damaged stud wall, use a spirit level to mark out a rectangle on the wall that closely fits the shape of the damaged area. Using a stud detector, check you have no studs, pipes or wires before cutting out the rectangle with a drywall saw. Put a sheet down as this can be a dusty job.
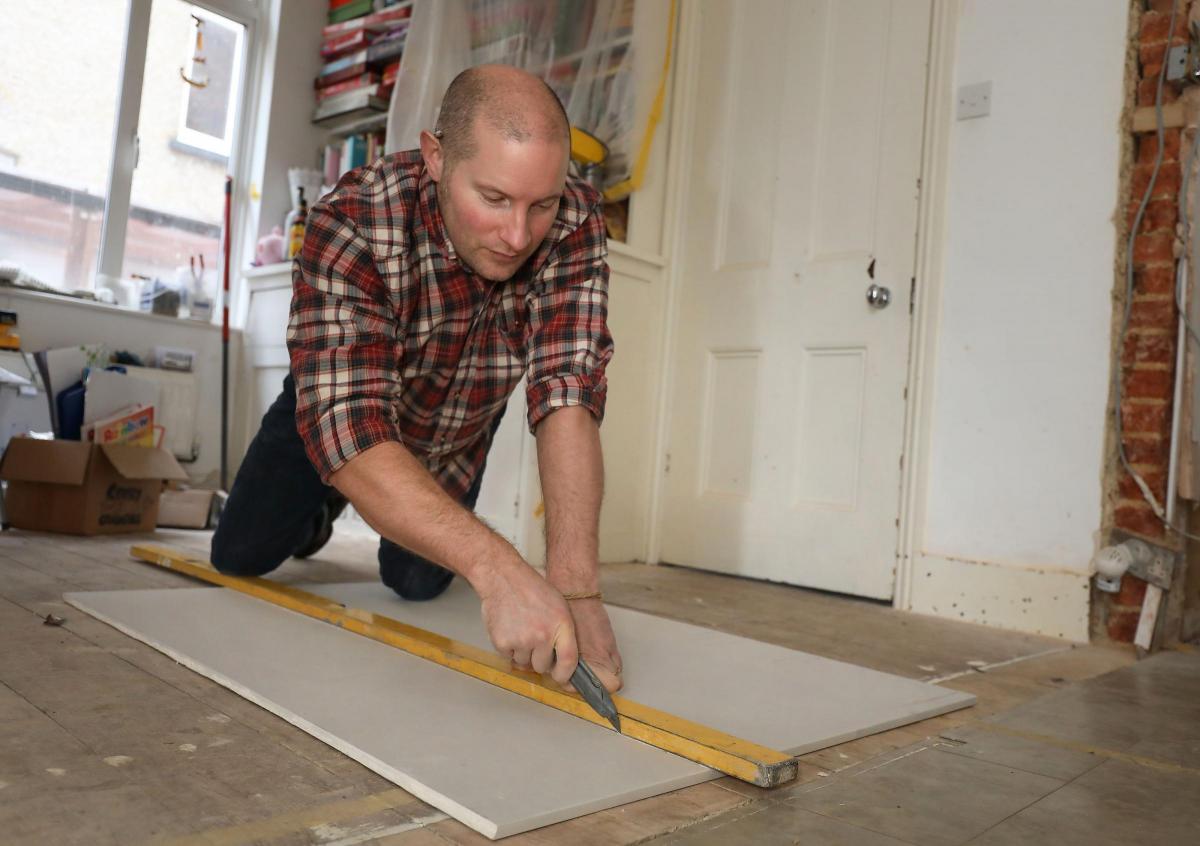
Next, use a tape measure to check the depth of plasterboard needed to go back in - usually this will be 9.5mm or 12.5mm for plasterboard studding, but you can double-up the thickness to fill in lath and plaster studding. Cut your plasterboard to the size of the hole (minus 2mm around each edge for wriggling in) and set this aside.
With your neat rectangular hole in front of you, create a wooden frame within the hole to attach the plasterboard to. Using 25x50mm wood, cut four pieces to attach inside of the hole. With the 50mm wide wood, 25mm should be visible and the other 25mm should be screwed to the existing plasterboard inside. Hold the wood in place as you screw into the wall. Once the four pieces surround the inside of the hole, you can screw your replacement rectangle of plasterboard into the hole onto this wood. Tape a layer of plasterer's scrim over the edges of the hole to stop the plaster cracking when it dries.
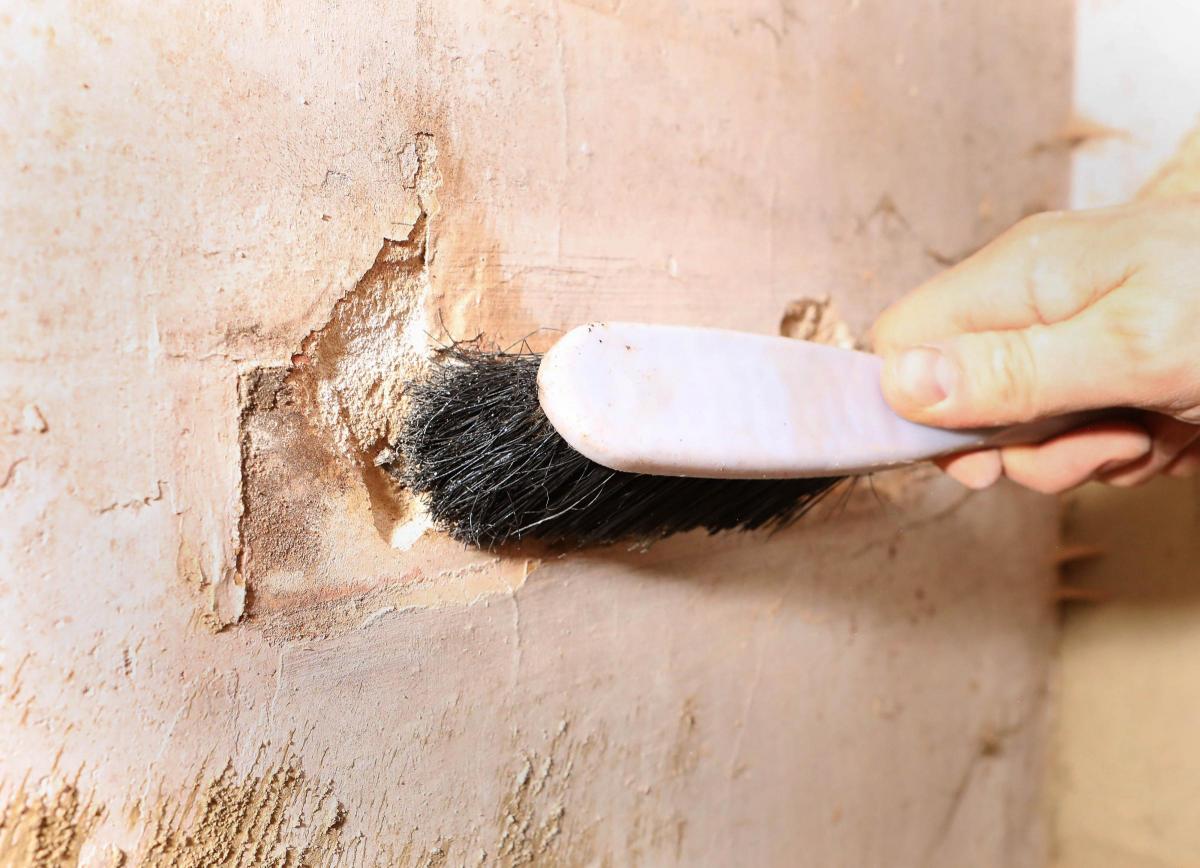
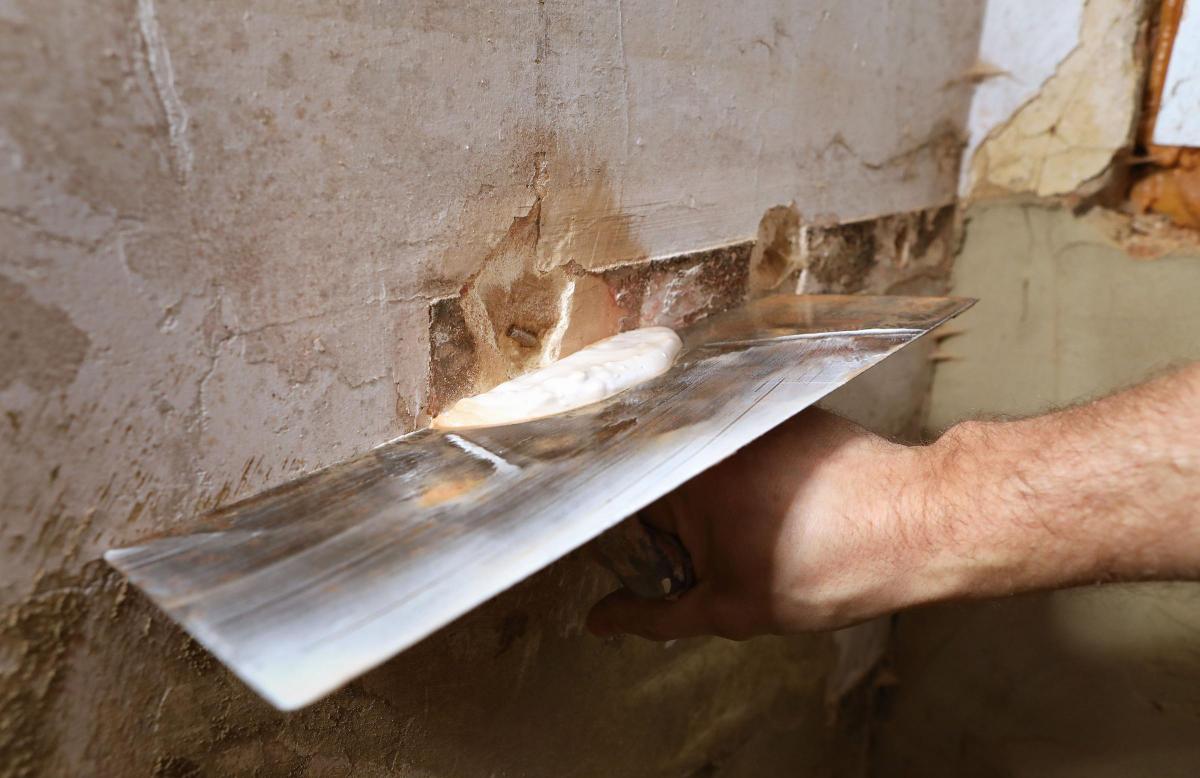
To fix a damaged solid wall, start by removing all the loose plaster with a stiff brush. Use bought primer or prepare your own with PVA glue in a ratio of 5:1 (water to PVA). This will stop the dry surface of your wall from sucking all the water out of your repair plaster. Paint it liberally on to the damaged area, so it soaks in, and clean your brush immediately or it will be ruined.
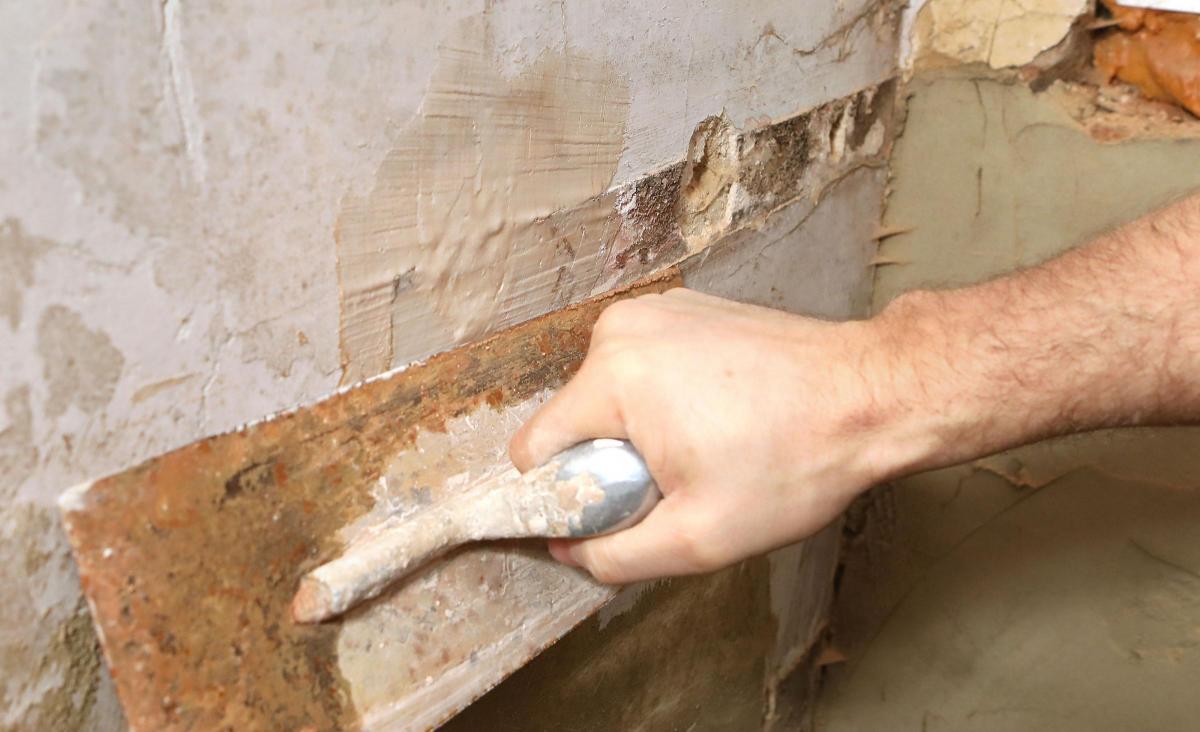
For damage more than 5mm deep, you will need some repair plaster, which comes premixed. Press into the damaged area with a trowel, scraping from the middle of the hole to the outside edge. Spread more plaster until the hole is filled and smooth to 3mm shy of the finished surface. Work this out by laying a spirit level over the hole so it touches the undamaged edges and check if the plaster is touching the straight surface.
With a trowel, scrape any plaster residue from the undamaged wall surface and leave for about an hour to firm up. Clean your trowel and put the lid back on the plaster.
Whether you have just plastered a hole or put scrim on your plasterboard patch, you are now ready to finish your repair. You can use the same repair plaster mentioned above, but you are now going to feather it away on the wall - spreading it out to nothing.
First you'll need to strip away any loose wallpaper around the hole. Next, using a soft brush, clean away any dust and grit around your repair, so that specks of grit do not ruin the finish.
Wet the surface with a little primer. Scoop a small amount of plaster out of your tub and spread onto the surface, going from the middle of the damage to the outside edge. Spread this beyond the patch and onto the surrounding wall very thinly, so the joint disappears. Don't worry, with a little patience and perseverance you can do this, and you can always sand-off any ugly ridges in the plaster once it has fully dried. If the plaster begins to drag or dry up on the edges, use a wet brush to keep these thin areas of plaster damp enough to work with.
Once you're happy with the finish, it's time to clean up. Leave a sheet down on the floor until the following day if you can, so you can lightly rub the surface with sandpaper to get rid of any imperfections.


Comments: Our rules
We want our comments to be a lively and valuable part of our community - a place where readers can debate and engage with the most important local issues. The ability to comment on our stories is a privilege, not a right, however, and that privilege may be withdrawn if it is abused or misused.
Please report any comments that break our rules.
Read the rules here